In
Part I of this project and
article we prepared the red oak wood billet to get ready to turn
it. We cut it to length, squared it, split it down the middle
and then routed a through-hole on each side. In this Part we'll
glue the two halves together and then start turning it on the
lathe. Update: I've gotten several positive emails and other
responses from many of you about this Big Peppermill article.
Well, yeah, there's been a couple of negative ones too but I
suspect they aren't really big pepper lovers. HA! Anyway, there
have been several of you out there that have said something like
this .... "This is all great and fine. I'm really interested in
how this peppermill comes out in the end. You must have a
really long lathe to make these things! I don't have such a
lathe but would still like to make a larger peppermill like this
one. How can I do it?" I thought about it for a minute and
thought, yeah, not everybody has larger lathe equipment but that
shouldn't stop them from trying out these longer, larger
projects. So, in that spirit, I'm going to show how you can
make this huge peppermill on a mini lathe. Yep, it can
certainly be done on a smaller lathe. You just need a high
quality, smaller lathe. I'll be using the Jet Mini Lathe to do
it. Stay tuned to this page for the next installment of
"Making a Big Peppermill" soon. UPDATE: This article is
over 10 years old and the pictures from the rest of the build
are gone. Sorry.
Part II - Glue and Section
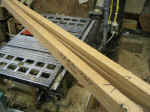 |
Here's the body of our BIG peppermill.
It's been split in half and then been routed with a
half-hole on each side all the way down it. We're going
to stick this thing back together now that we have the
hole through it like we wanted. |
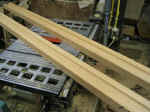 |
Make sure that you've lined up
each half correctly! The hole (actually, just
half-holes) that you routed on each side may not have
been perfectly centered. So, check that it all goes back
together the way you need it to FIRST before you put the
glue on. |
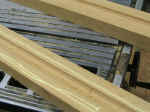 |
OK, run a bead of glue down each side
trying to stay out of the routed half-hole. It's not
huge problem if you do get some glue in there though.
It can be cleaned out afterward or, if it's not too much
or too thick, just left there. No big deal. I use just
normal old yellow carpenters glue like Titebond. Make
sure you get enough glue on there. We don't want any
gaps! |
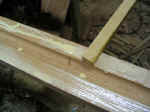 |
Spread the glue. |
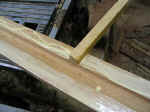 |
And keep spreading..... |
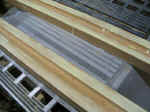 |
There, now we have glue on there. And
some glue where we don't really want it. No problem.
Just wipe out the glue that fell into the half-holes.
Don't get too carried away though. If you put enough
glue on the edges, you'll have even more glue in the
half-holes in just a minute! |
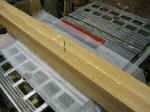 |
Slap the two halves of the peppermill
together. And now for a brief musical interlude ......
"Together Again. They're together again ... never to be
separated. Must be love because there's nothing like a
peppermill together again."
(I never said I could sing ... or write music ... or
much of anything else especially when it comes to a
giant peppermill)
|
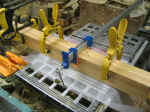 |
Clamps! The more the merrier, right?
Squeeze that thing together well. Don't starve the
joint of glue, however, by squeezing too hard and
squirting all of the glue out of it. A normal, tight
squeeze, you know. Kind of the squeeze you give your
wife or husband. Not the kind of death hug you gave
your sister when you two got into trouble as kids and
Mom said to "Make up with your sister! Now give each
other hugs". That type of squeeze isn't good ...
for sisters or huge peppermills. |
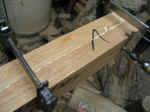 |
OK, make sure you've lined everything
up, and it's in the clamps. |
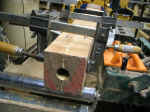 |
There's the hole down the middle of it.
It looks fairly round. That's a "good thing" as Martha
would say, I guess. Well, now we wait for things to dry
...... [Up next ... cutting it up into segments for
turning on a mini lathe.] |
| |
|
| |
|
| |
|
| |
|
| |
|
| |
|
| |
|
