Making a Travisher from scratch
A travisher is a chair makers tool
Step by step procedure
While, technically, the Travisher isn't a woodturning tool, it is a tool that the woodturners of old were well aware of and used. Especially the woodturners (called "Bodgers") that also made furniture and not just the spindles for that furniture. As part of my demonstrations and classes on the history of woodturning and how it relates to the Bodgers of old, I've included it in the Woodturners Articles section of the website.
The Travisher is very much like a highly curved spokeshave. The blade is similar in shape to a Scorp but wasn't usually as sharply curved nor as heavily constructed. The Travisher held the place in tool use between the Scorp and the scrapers. It was for fine cutting of concave surfaces such as the seat of a chair or stool. It left a fine enough surface to be finished up with a little light scraping.
| The Travisher I've made here is a "start from scratch" one. One of the demonstrations and classes that I put on is in the making of tools. I try to make these tools with as commonly available material as I can and make them usable ... not just for show. I tend to make larger, chunkier handtools as they are far more comfortable in my hands than the small handled, dainty tools that you feel like should be in a museum and not on your bench. I use these tools almost every day and I use them, especially this one, for hours on end. They have to be comfortable! So, here's one version of a Travisher.... | |
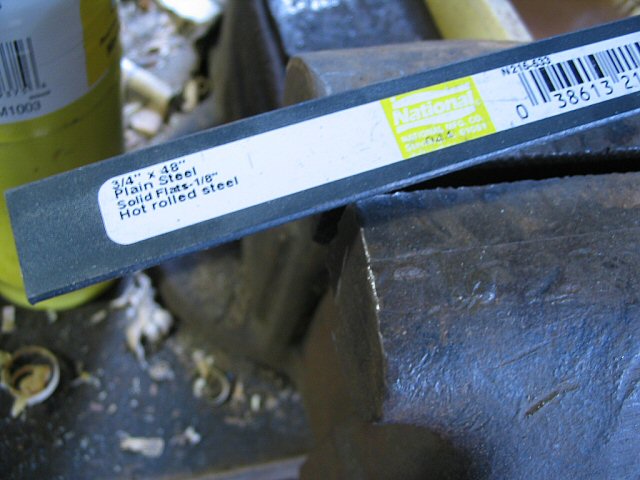 |
Basic ol' plain steel that you can get at your nearest home center. Sure, flat toolsteel stock or HSS would work better and last longer between sharpenings but you can't always find that stuff or have the equipment to work it properly. For this tool, this metal is fine. Not great, but fine. Update 8/09: I make the ones that I regularly use and sell to other people out of O-1 tool steel. It's not as tough as HSS (high speed steel) but it's a whole lot easier to work without specialized industrial equipment. |
 |
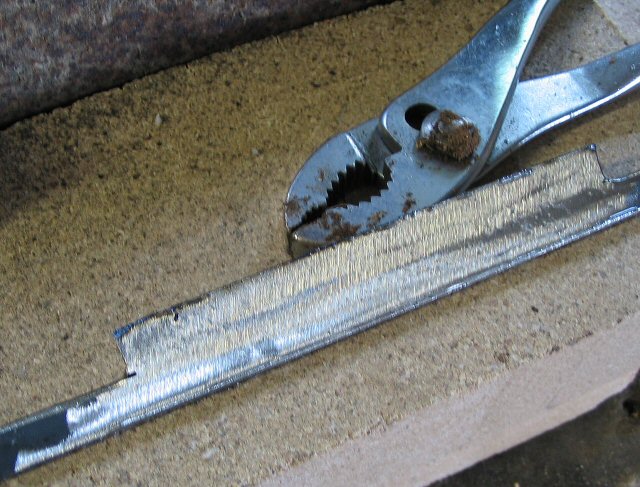
Mark out how big you want the cutting edge and how long you want the "tangs" on each side to be. Cut, grind, or whatever you want to get rid of the waste. Update 8/09: The thickness, width and length of the steel stock you start with greatly depends on what, exactly, you're going to be working on with your own travisher and just your own preferences. Normally, I start with at least 3/16" thick x 3/4" wide x 12" long stock. The thicker your stock is, the less chatter you'll have when slicing the wood. 1/4" thick is the thickest I've made. Too wide of a travisher (over 1") and you can't scoop out within tighter radius's. |
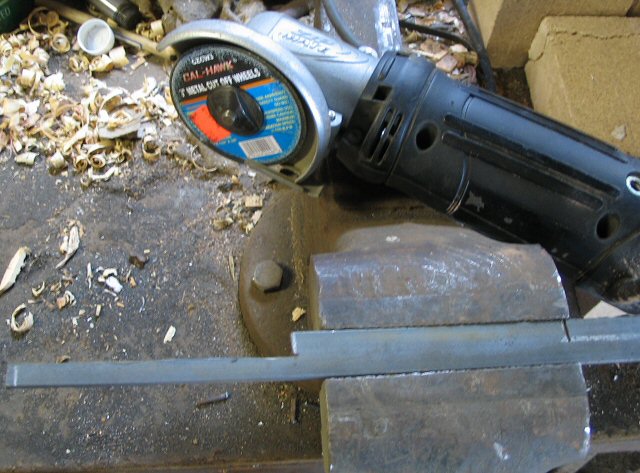 |
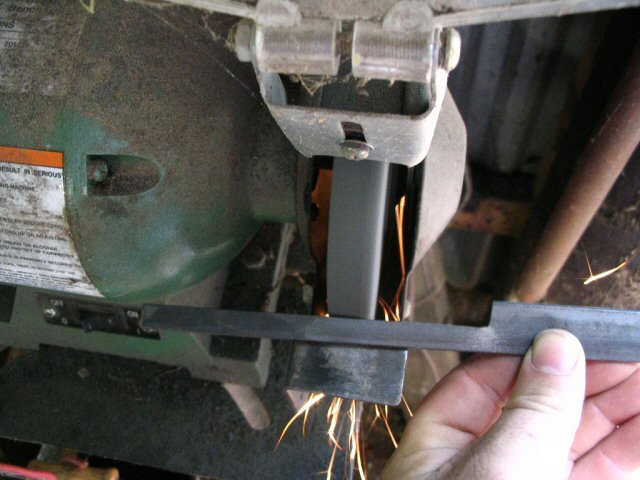
Cut the handles out using whatever tools you have available. |
 |
Try to get the same length handles at this point. But if you don't, not to worry. It's always best to leave a bit extra and cut off what you don't need later. The blade area is only about 3.5" to 5" long. Make it larger or smaller as you need it. |
 |
Grind the handles and everything fairly smooth so it'll fit into your wooden handles later and so that it's easier / safer to do your bending in the next steps. |
 |
Decide which side is going to have the bevel in it and the other side is going to be flat. Grind the flat side so that it is really flat. This side is what is going to be riding against the wood. It needs to be smooth. You can see here were I've done a rough grind on the flat side. I'll progress down to finer grits to make this as smooth as possible. Actually, it'll be shiny and polished enough eventually so that I can see my pretty face! Or at least somebodies pretty face. |
 |
After you get done with the flat side, start grinding the bevel side. Again, this is a picture of the rough grind. I'll take this down pretty far in grit size but I won't get it polished at this stage. There's still lots to do and it'll be a waste of time to do all of that grinding and polishing right now. But at least we want it roughed out and ground properly. It's easier to rough it out while the thing is still straight. |
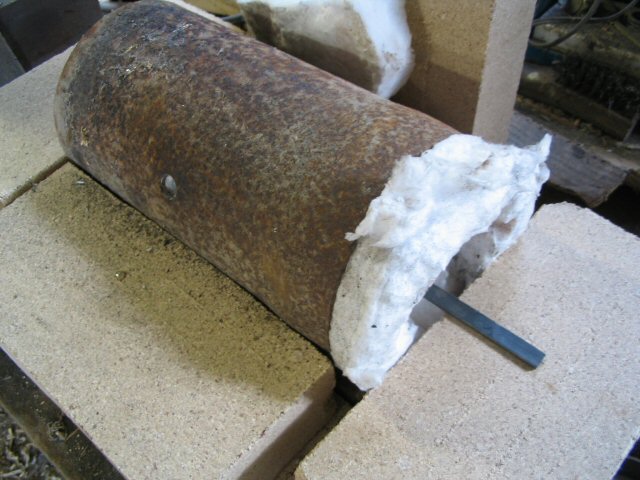 |
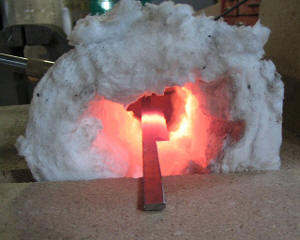
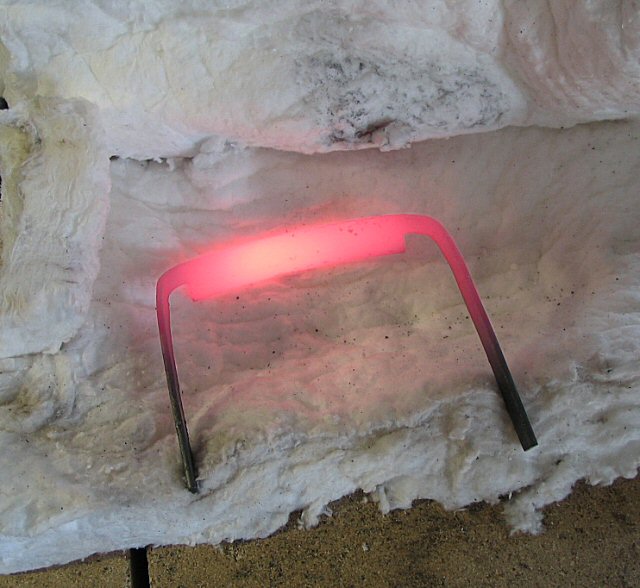
Here's a little portable forge that I use sometimes. It's a piece of water well casing (VERY tough stuff) with a little hole drilled in one side for the gas torch to fit into. The white stuff is Kaowool. It's a very very efficient insulator and refractory material designed for fireplaces, forges and high-temp kilns. That's just loosely rolled into the steel tube. You can see the travisher steel sticking out of the forge ready to be heated and bent. |
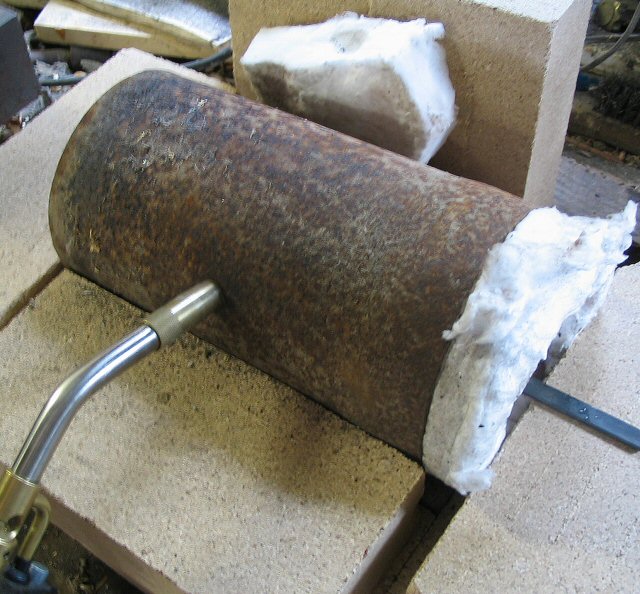 |
There's the torch in the hole and starting to fire up. It doesn't take long to get things up to cherry red and ready to bend. Maybe 2 minutes and it's ready. |
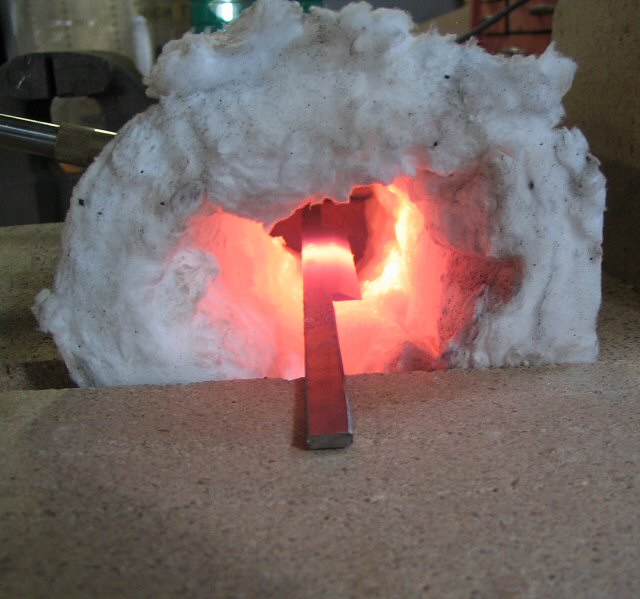 |
And there it is just starting to get red in the middle. Wait until it gets cherry red all over the blade area before you start bending. I use safety equipment (imagine that!) for handling the steel such as special gloves, long tongs, etc. I highly recommend that you do too. If you don't know what you are doing and aren't confident that you aren't going to burn yourself; explode things; or kill yourself with carbon monoxide fumes then DON'T DO IT. It can be very very very dangerous stuff. Lots of stuff to consider when doing this sort of thing. Make sure you know what you're getting into first! |
 |
Once the steel is up to where you're
ready to bend it, well, ..... bend it already! You'll
really need to use a form to bend this around. I'm
using one of those new-fangled impact-resistant
high-tech shop storage containers ... an old coffee can
here. I don't drink coffee (yeck!) so I have to do
something with the cans when I dump the coffee out.
<grin>
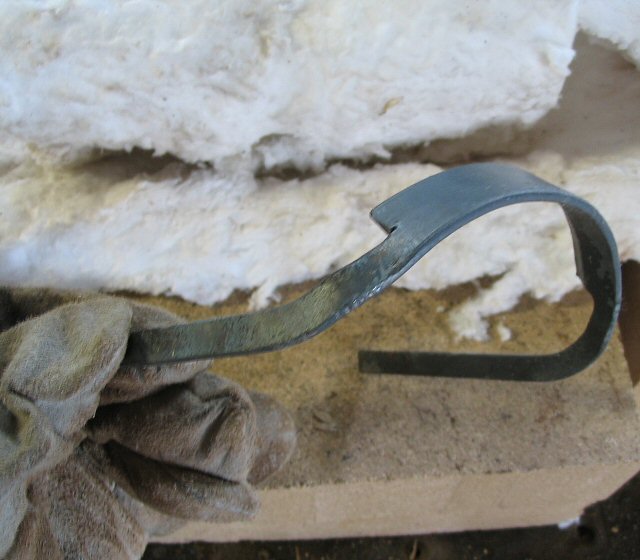
Now, you're probably asking yourself ... "Self, isn't he suppose to be making a travisher in this article?" and yourself answers back "Well, yeah, he is. Why such a huge curve shown there?" Good question you two. In this and the next couple of pictures, I'm actually making a scorp but then go back to the pictures of making a travisher. The two tools are very similar in construction except for just the radius of the blade and how the handles are bent. |
 |
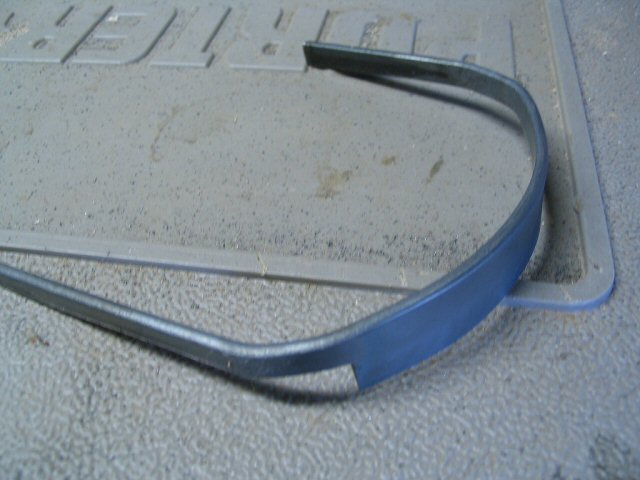
So, here's our Travisher (ahem ... actually the scorp) all bent up. The handles are bent down so that they'll fit into your wooden travisher body. I tend to make the travisher wooden bodies FIRST so that I can fit the handles into that instead of the other way around. |
 |
Another view of it. |
 |
The last step is heat treating it. I put it into the kiln and harden it. Quench. Polish up the blade so that I can see the raw steel really well. Gently, ever so gently, heat the blade up until light straw color and then quench again to temper the blade a little. We want it hard but not TOO hard or it'll be brittle. I won't go into all of the details of the heat treating process here. That whole thing is an incredibly deep subject and rife with conflicting "facts" and procedures that everybody with an opinion is absolutely, positively sure they know the correct way to do it. And books are no help either. Almost all of them conflict heavily with the others. *Sigh* |
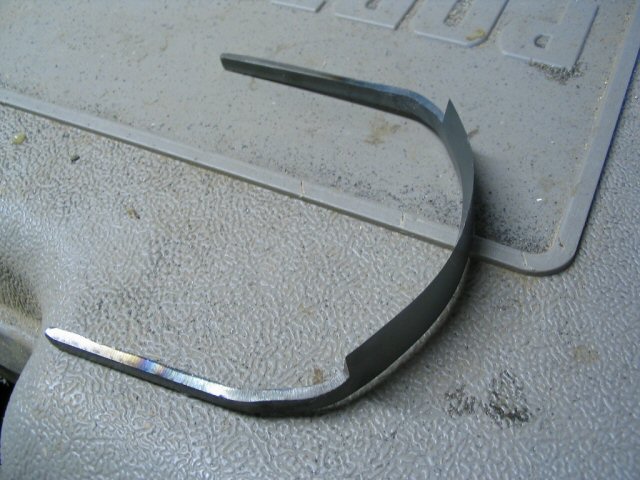 |
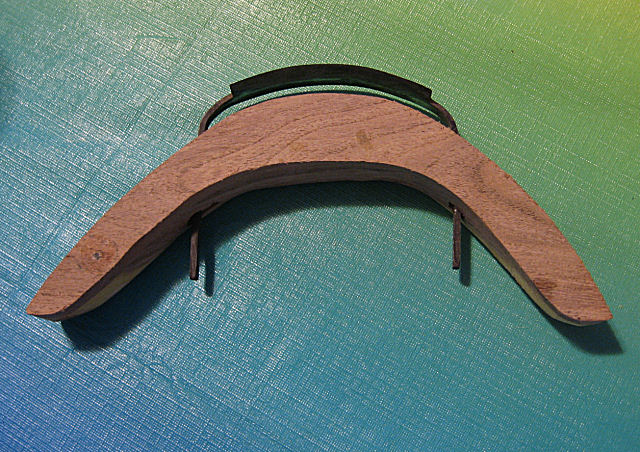
Our blade is now ready for a body. Notice that we're back to the real Travisher blade now. Update 8/09: The radius on travishers are very dependent the users preferences. Also, the shape of that radius. Some like it fully round. Some like it rounded as in the picture at left. Others like theirs to be round and then sort of squared off at each end. Same goes for scorps, too, by the way. Start out with a nice, gentle radius and don't get too excited about getting a perfect round shape all the way to the ends at first. Use it, and decide for yourself what you really want/need. This travishers' blade is 5" long before bending and about 4.5" from end to end after the bend. |
 |
Another view. |
 |
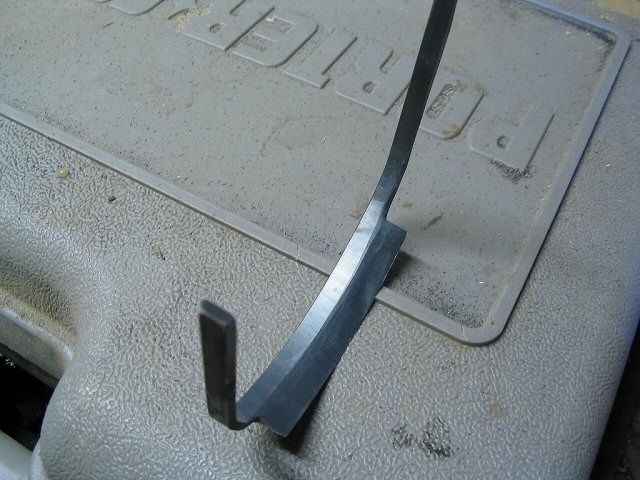
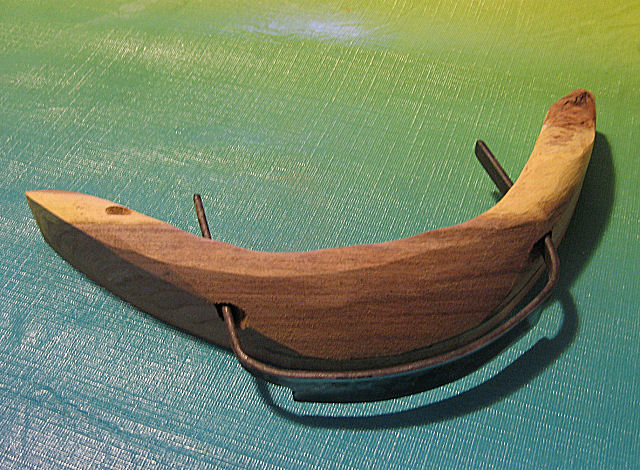
Still another view. After all of the heat treating, I take my time to get a really polished flat side, bevel and everything else around that blade area. It's going to be rubbing up against the wood and any sort of bump will be transferred to the wood. |
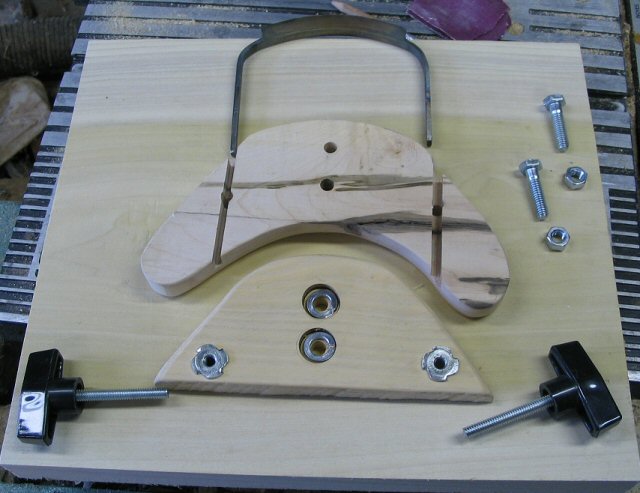 |
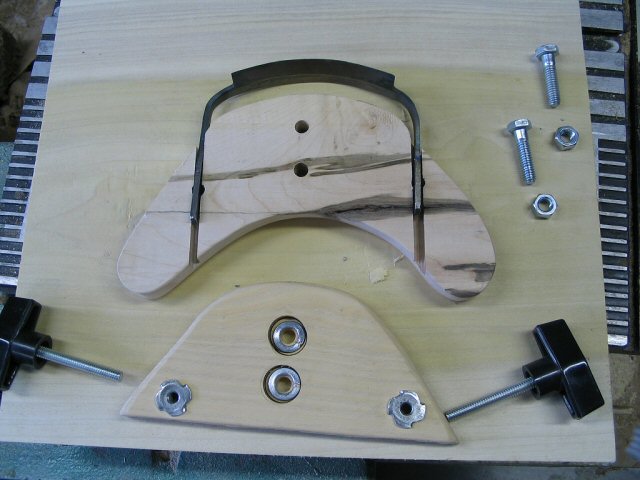
All of the parts laid out in a rough estimate of how it'll go together. |
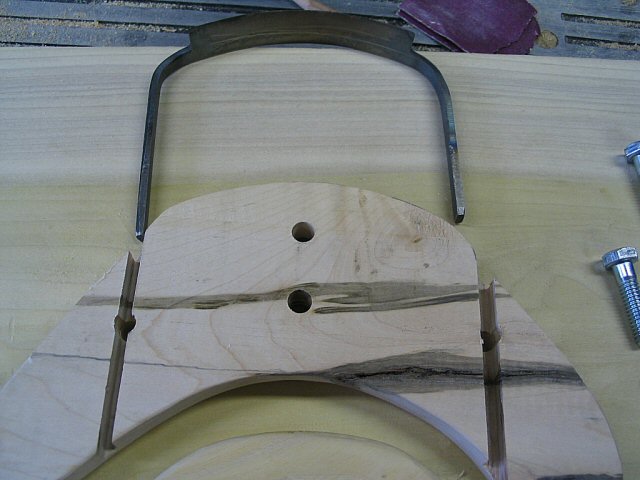 |
Make sure that the blade handles / tangs fit into the main section of the wooden body. |
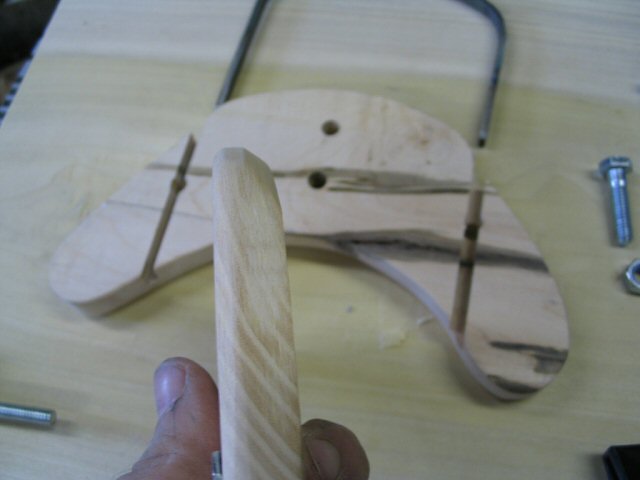 |
Here's the toe. I made it as a separate piece so that it could be replaced as needed. |
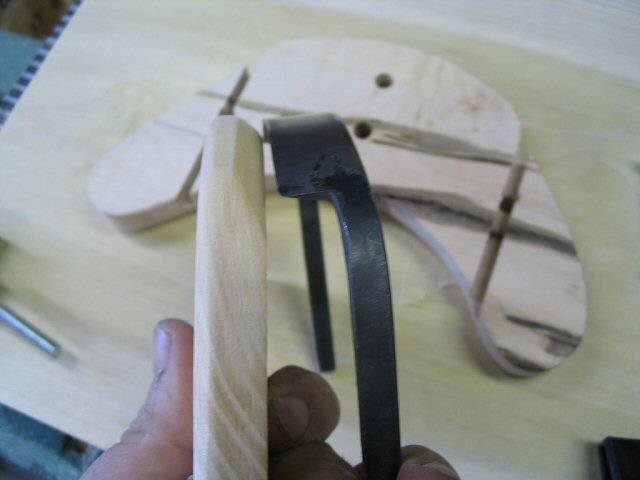 |
Blade fits into toe like so |
 |
|
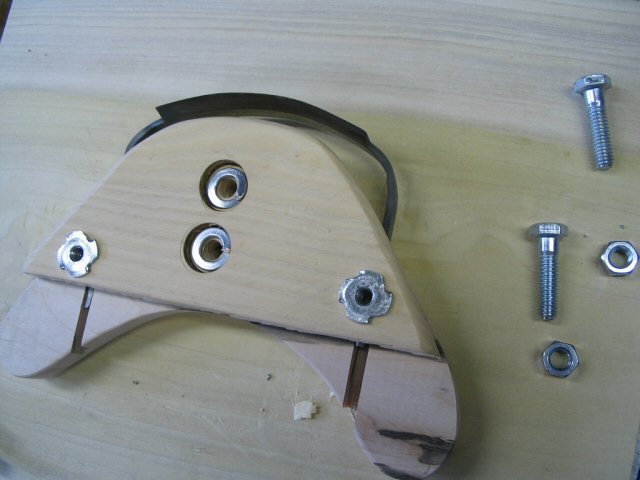 |
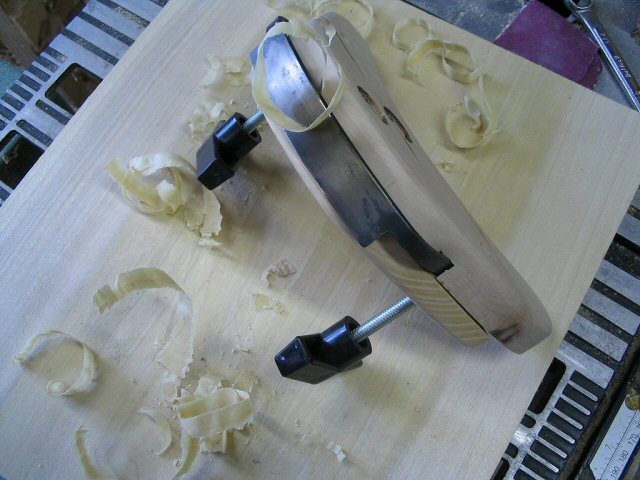
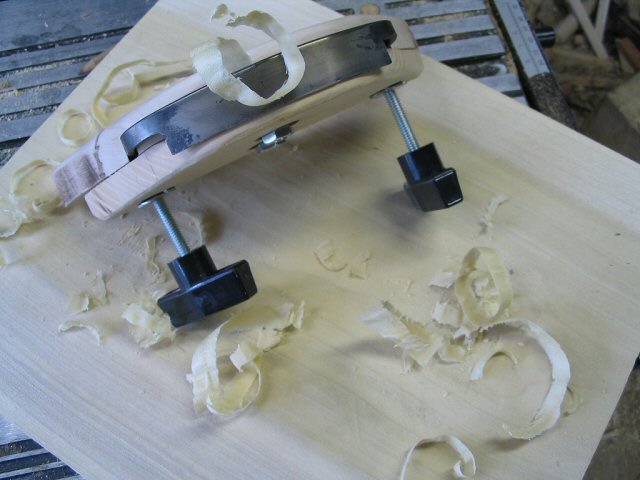
Basically, the thing is workable. Not pretty. But workable and fits MY hands. When I'm making these for other people, I don't make the wooden bodies like this, obviously. But for just me ... I don't worry about all of that. Form absolutely follows function (ie I don't care what my own tools look like as long as they work well) for tools and equipment in my own shop. |
 |
|
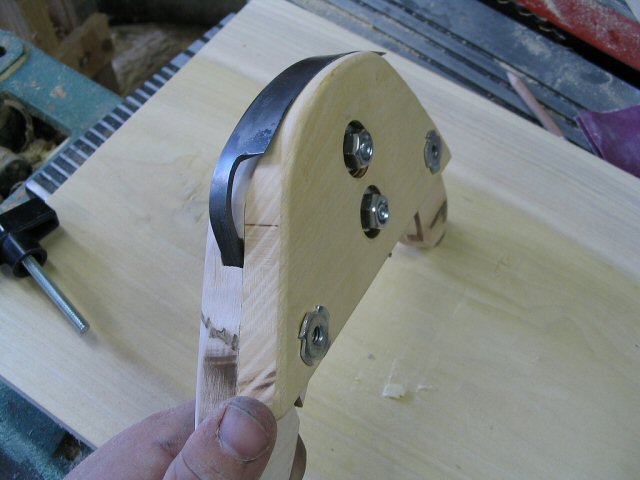 |
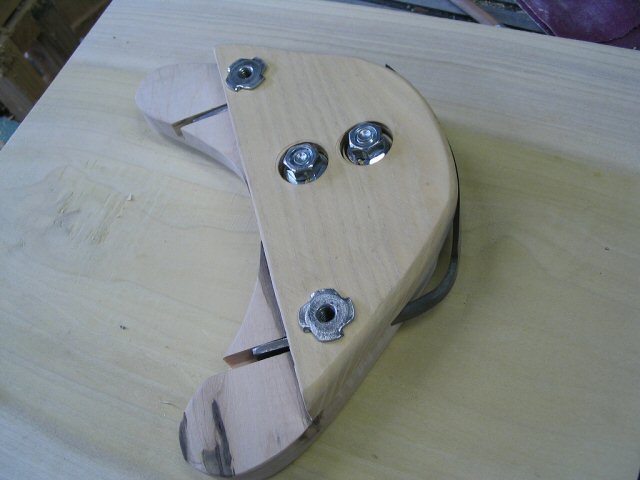
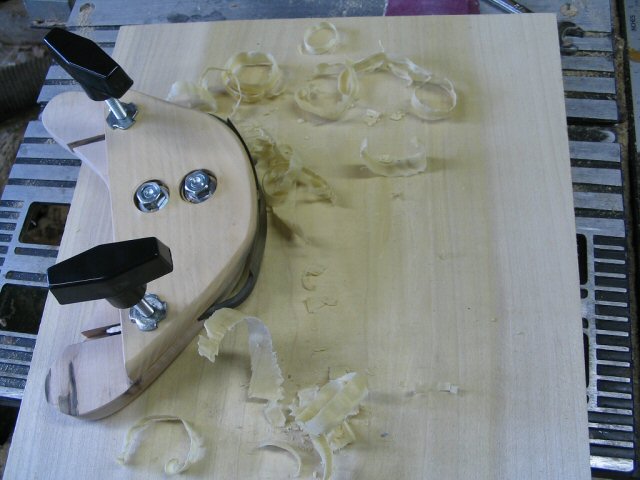
Tada! |
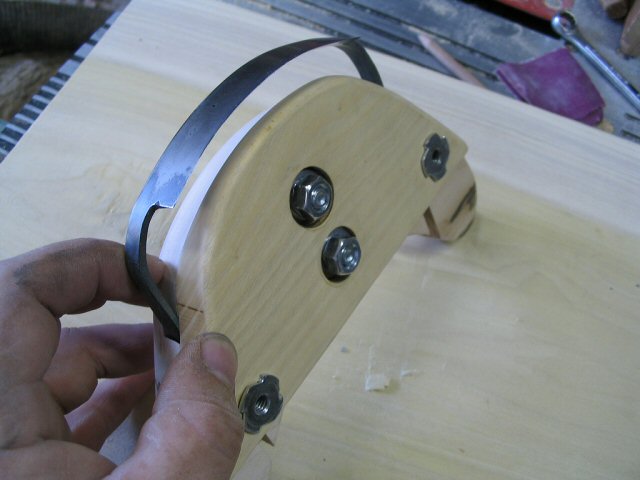 |
Blade goes uppppp. |
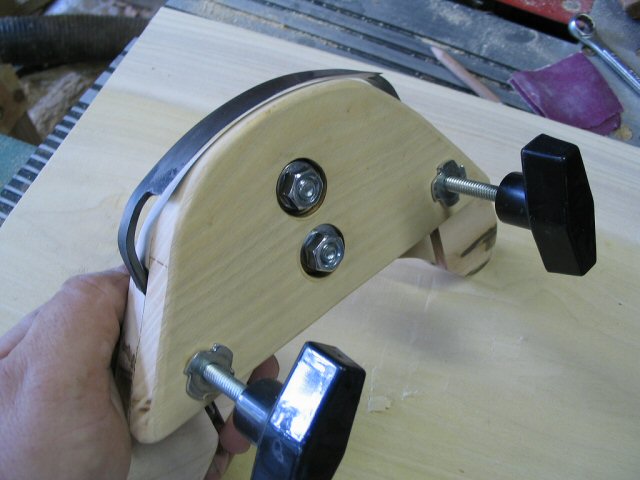 |
Yeah, I know those knobs are HUGE. I replaced them later with small thumb screws. But these are all I could find when I was taking pictures. |
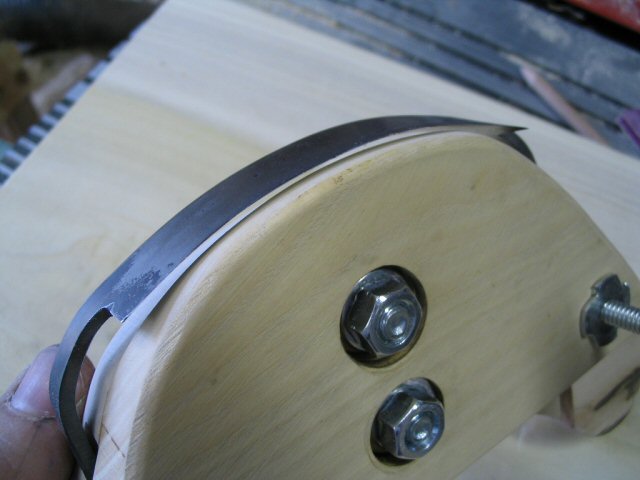 |
Blade goes dooooowwwwnnnn. |
 |
And a little test cut. Hmmmm not bad. |
 |
A little slice here and there ... |
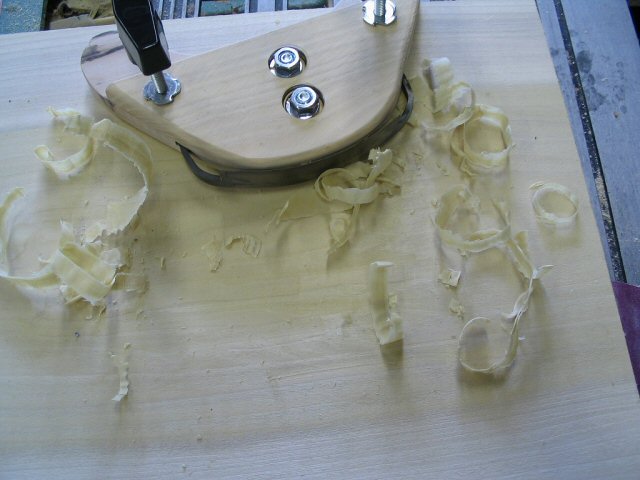 |
Getting better.... |
 |
Some nice shavings with a tool that I made myself from start to finish. |
 |
No better feeling. Now I have to get to the real work! |
 |
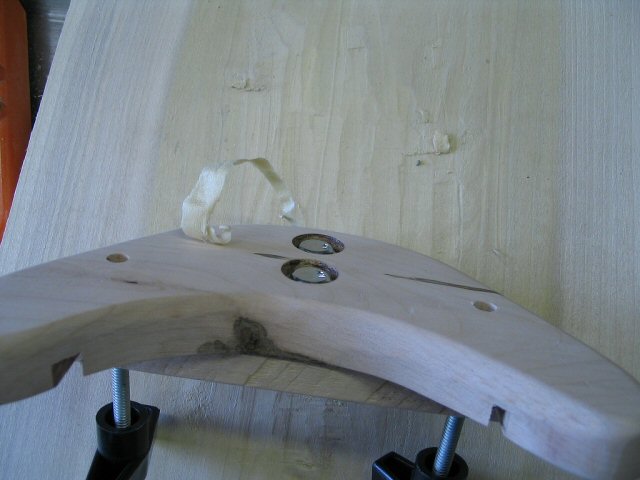
Here's a new travisher in the process of being made. It's mesquite wood and more of a traditional travisher shape. Mesquite is a fairly hard wood and should be fine for this tool. |
 |
The body has been roughed out and a little light easing-off of the throat to check that this blade will work. The next step is to very carefully shape the curve to get a perfect fit for that blade edge. Holes will then be drilled for set screws to hold the blade tangs in place. After that, the rest of the body can be rounded and shaped to be comfortable in the hand. |